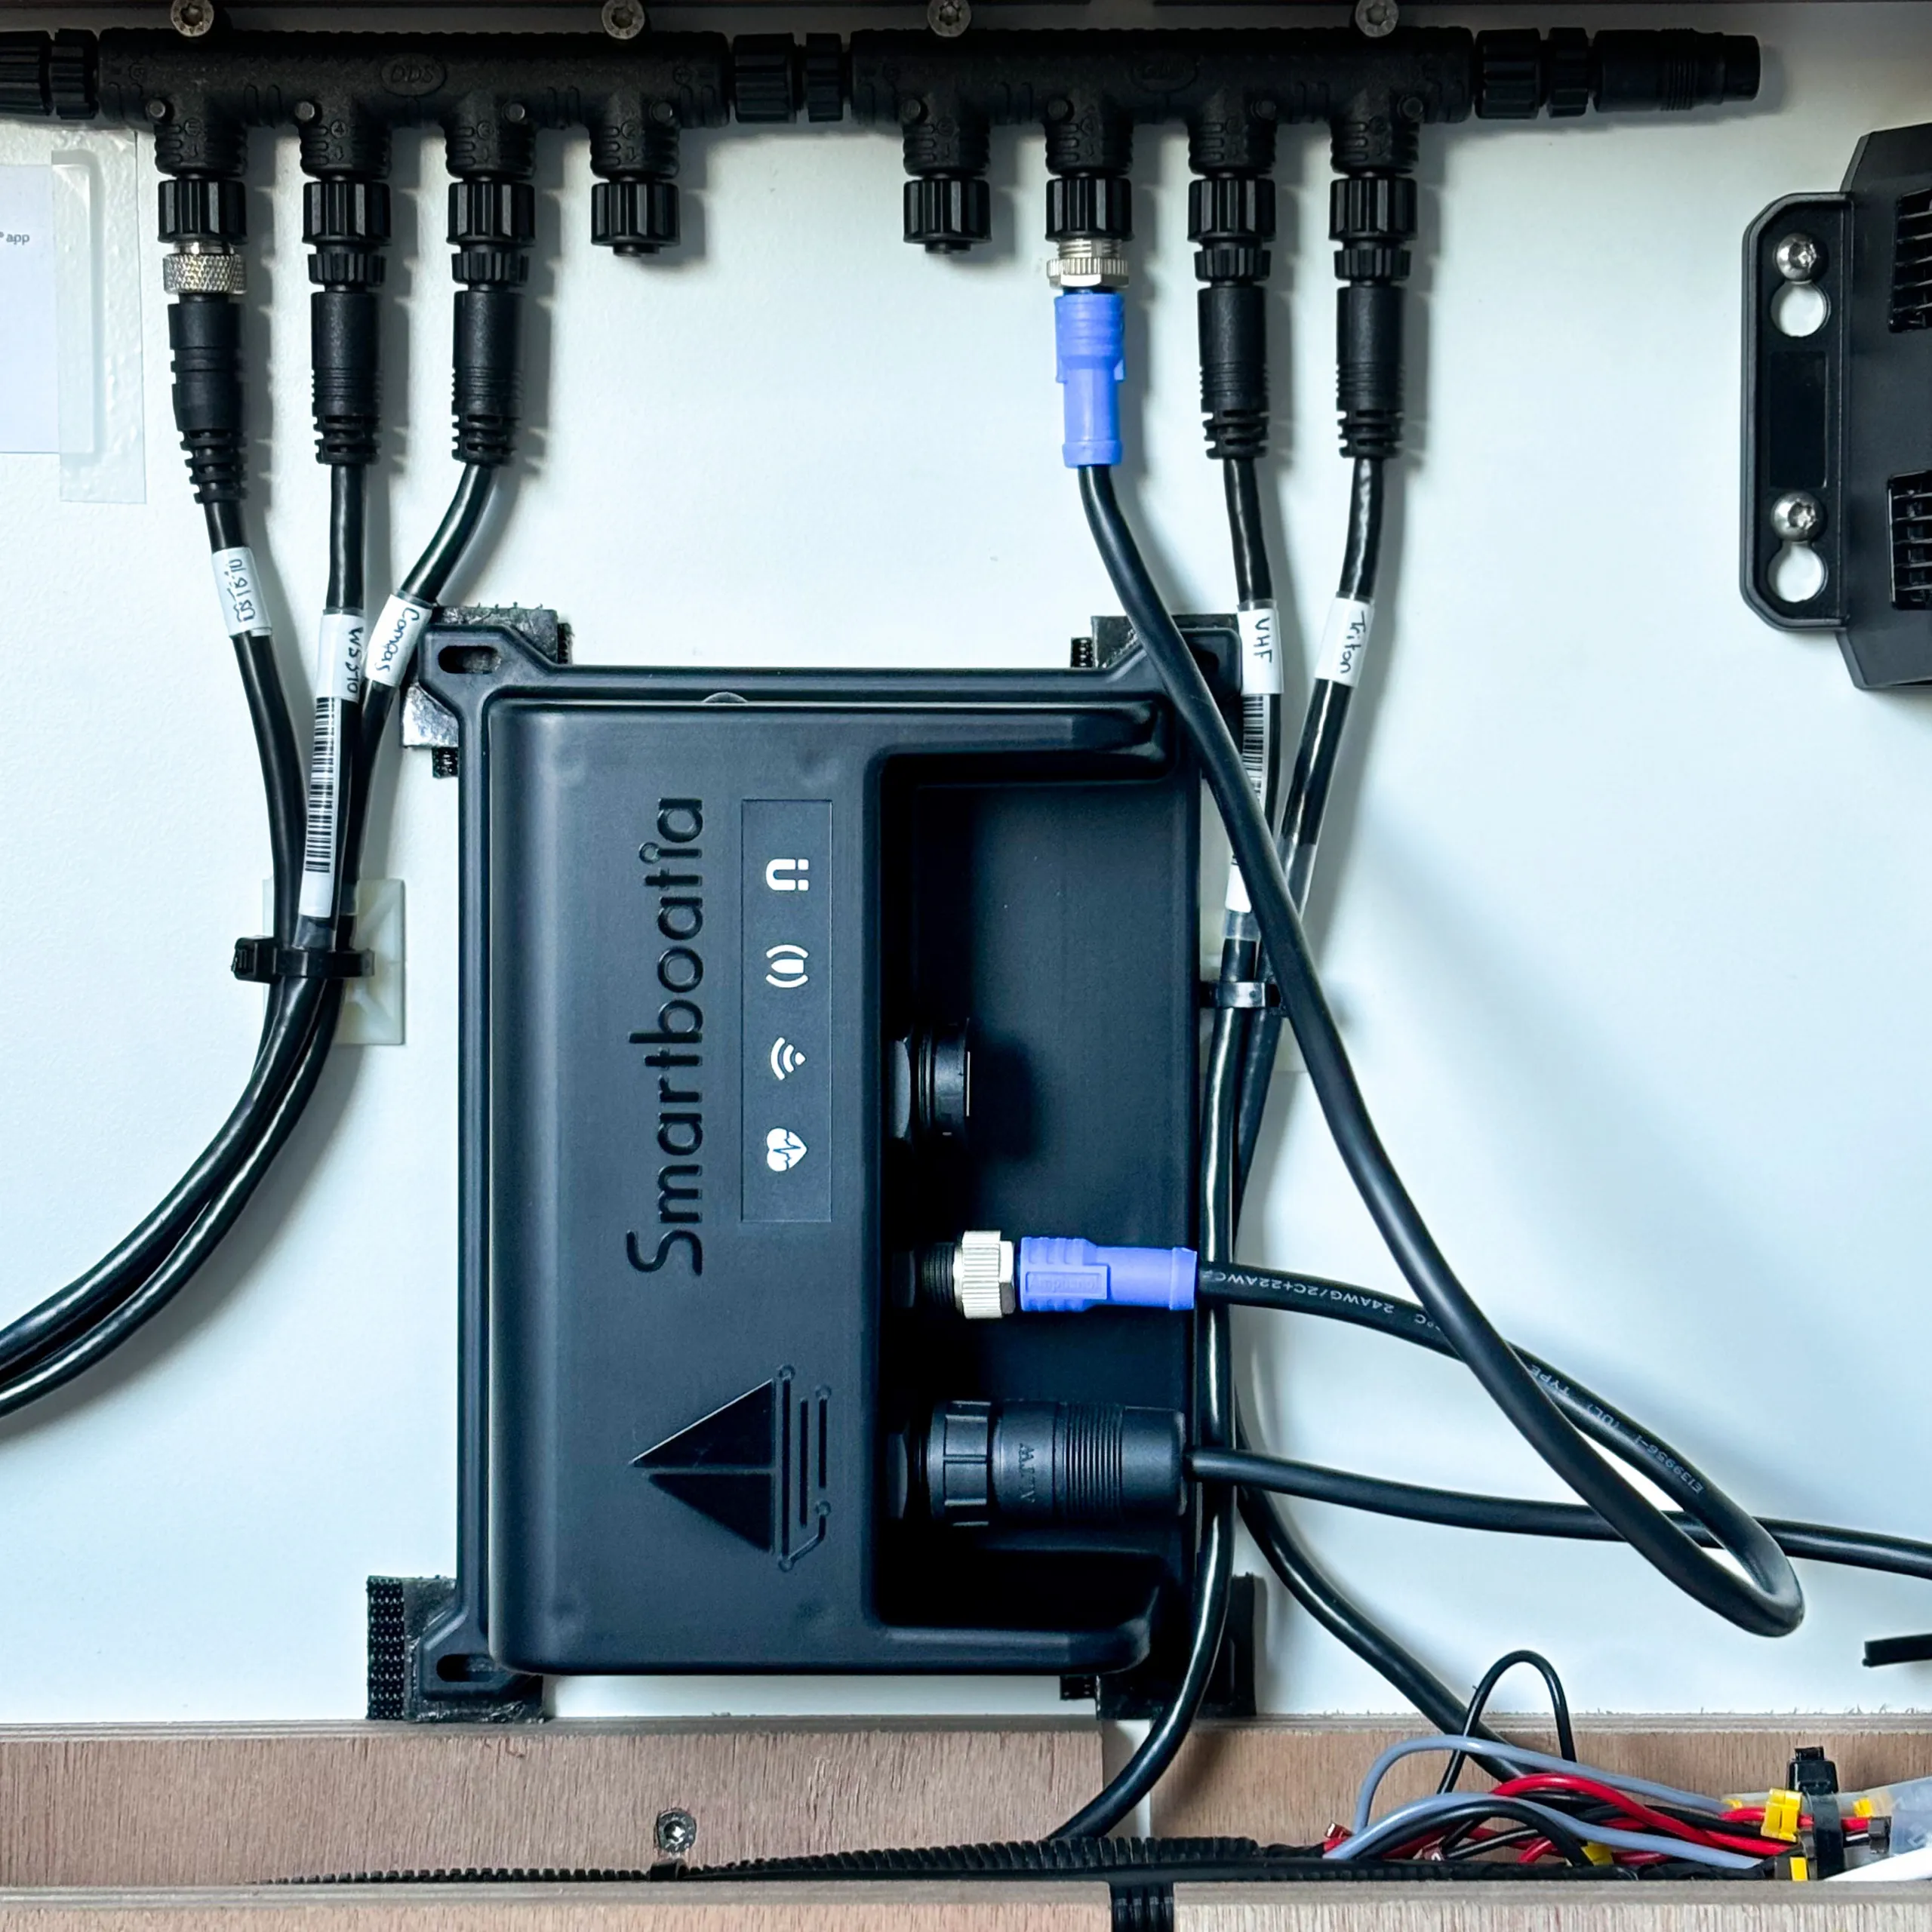
How to Install the Smartboatia Hub: A Simple Step-by-Step Guide
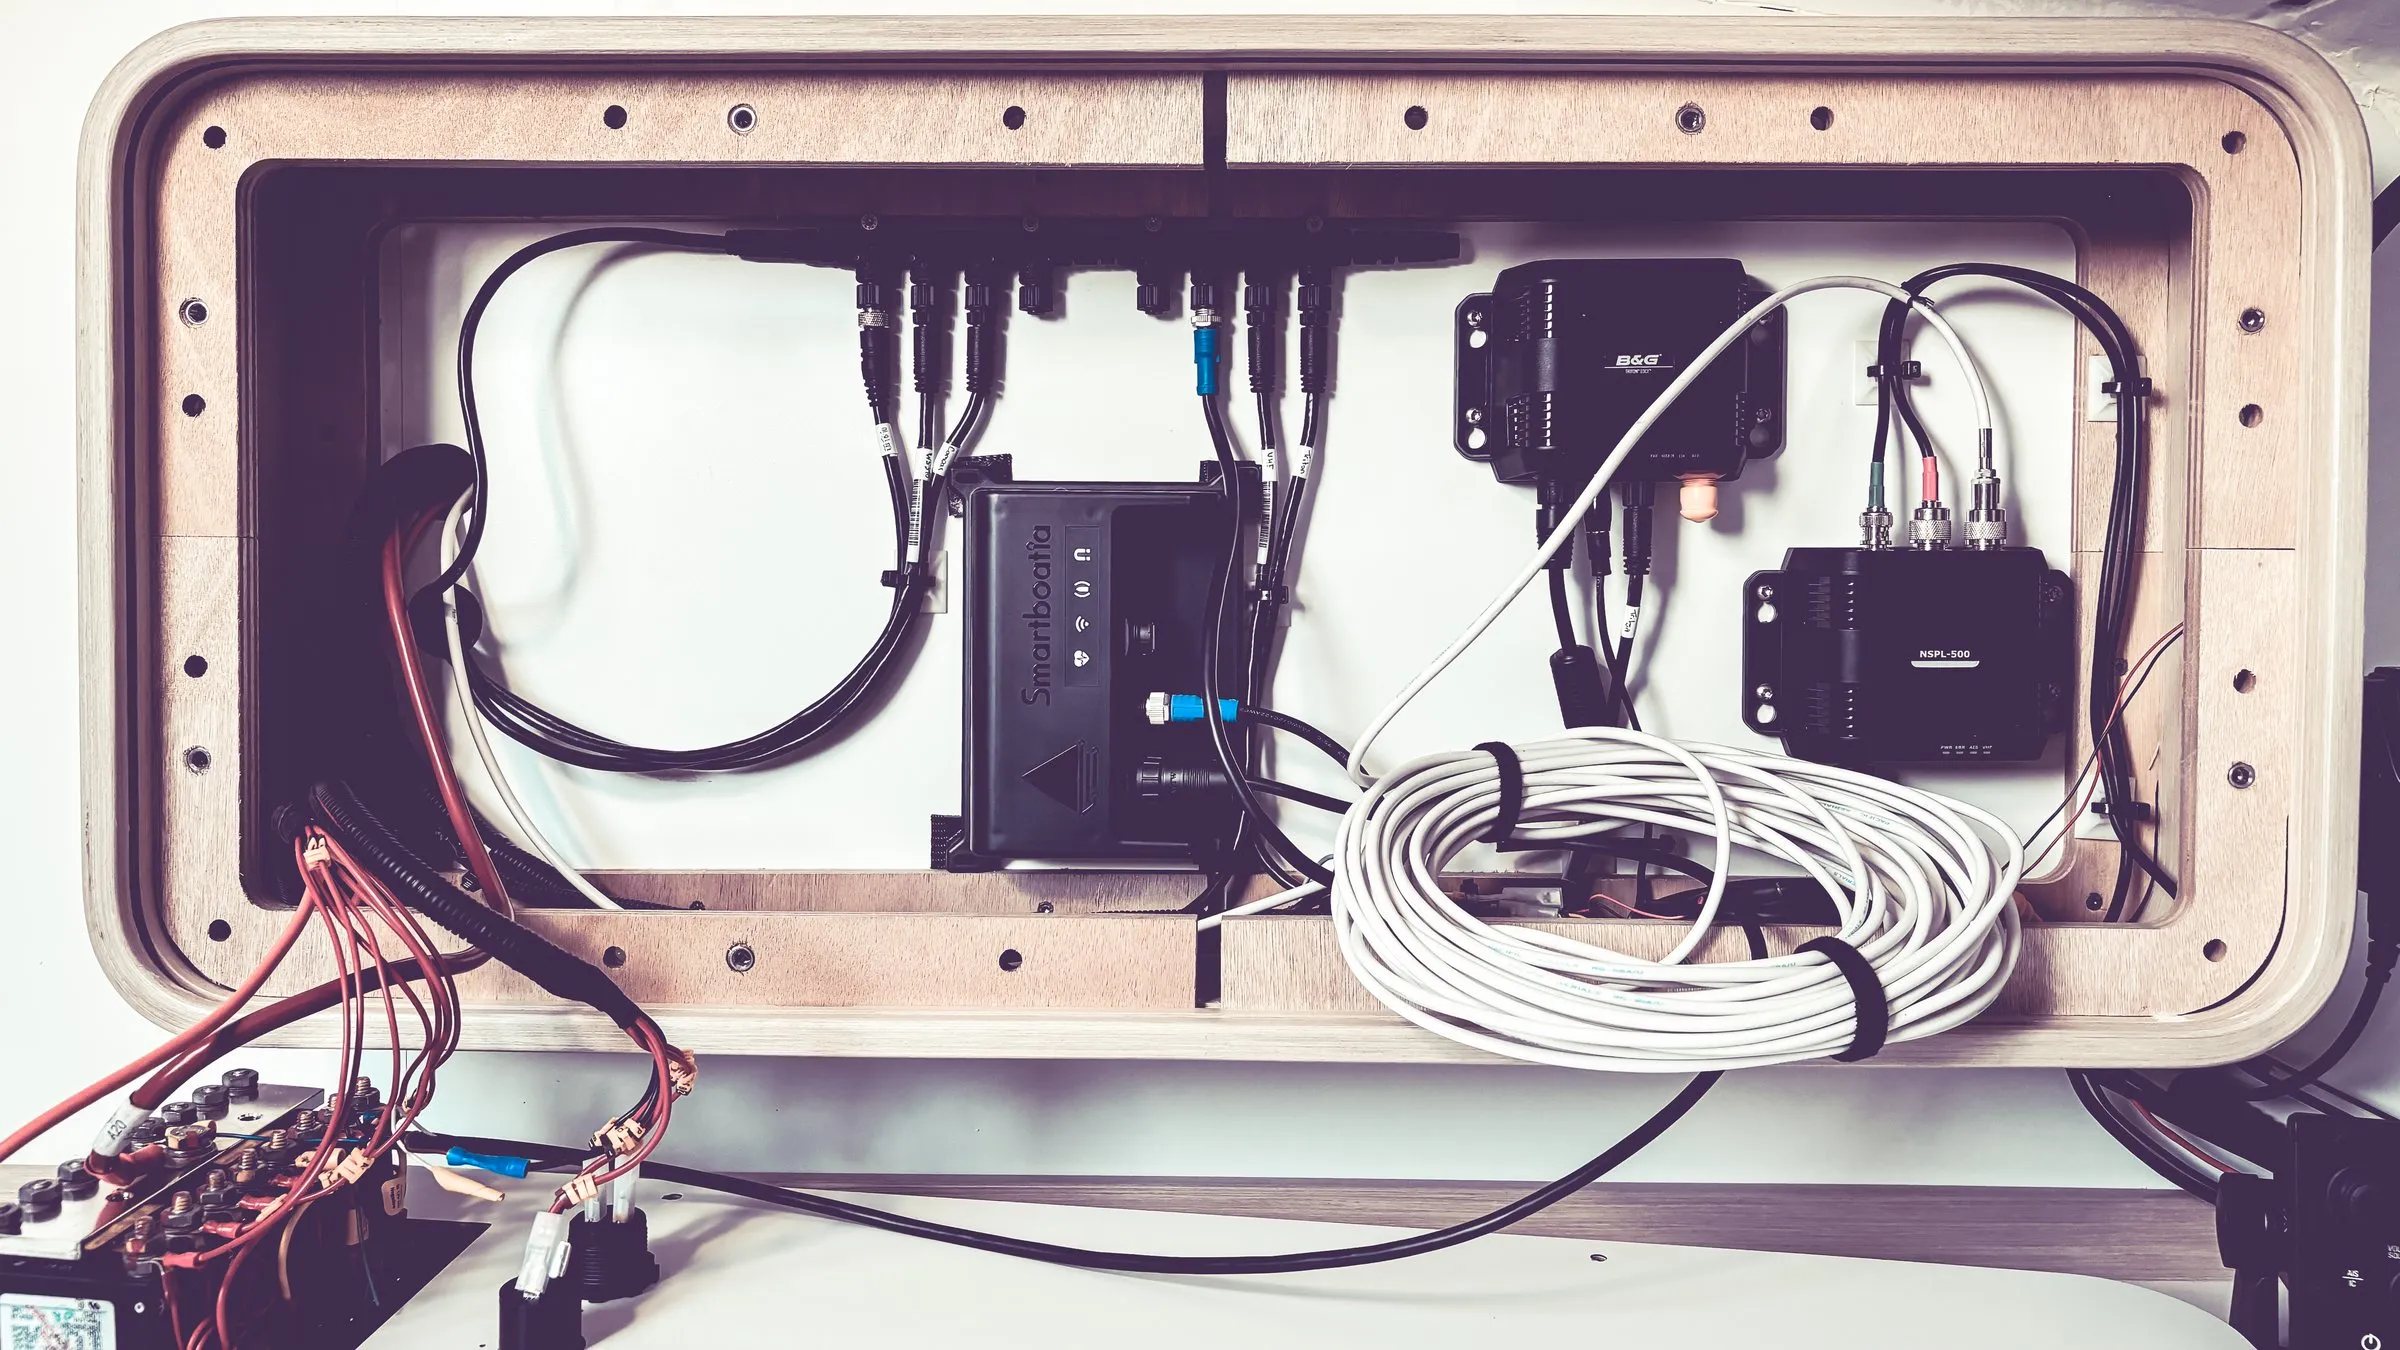
Want to install the Smartboatia Hub? You're in the right place. The Hub is the heart of your boat's digital setup. It connects sensors, stores data, sends alerts and gives you a live view of what's happening on board. Installing marine electronics might sound complicated, but don't worry: this system is user-friendly and quick to set up, even if you're not a tech expert. With a few basic tools and this guide, you'll be up and running in minutes.
In this article, we’ll walk you through the whole process step by step, from choosing the right mounting spot to connecting the Hub, setting up Wi-Fi and getting the Smartboatia app running. Let’s go.
What’s in the Smartboatia Hub?
Before you start, here’s a quick look at the key specs. The power cable is included. Order an NMEA 2000 cable with a female Micro-C connector to match your onboard network.
- Powerful quad-core processor (4× 1.5 GHz)
- 4 GB RAM, 32 GB storage
- Built-in sensors: GPS, barometric pressure sensor, 6-axis motion sensor, voltage measurement
- Hub cellular, Wi-Fi 6
- Alarm outputs (internal and external)
- Power supply: 8 to 28 V DC, max. 3 A, 2 to 3 watts
- Power cable length: 1 metre
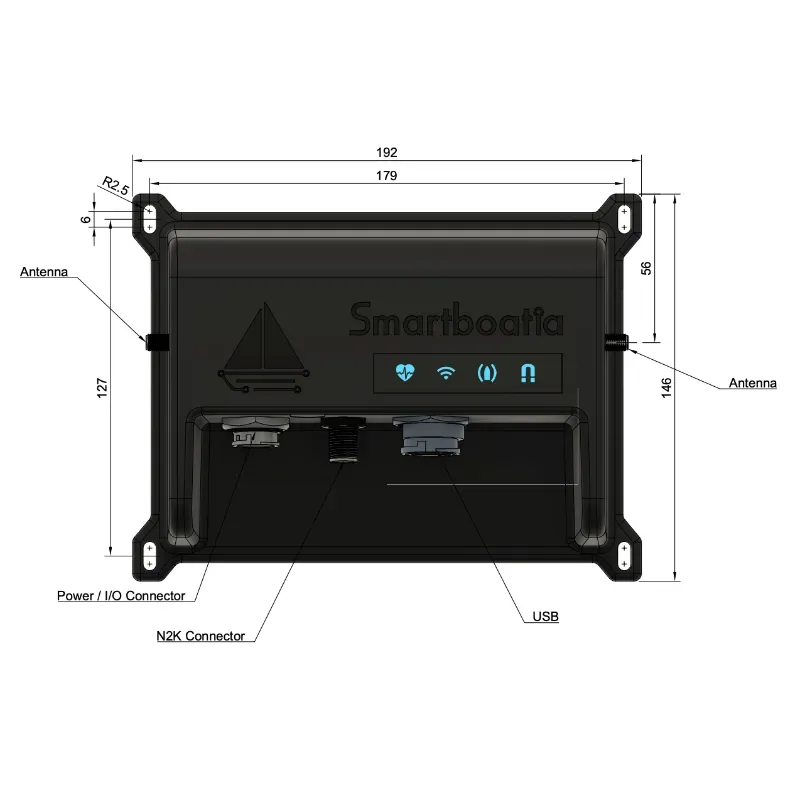
- Connections: NMEA 2000, USB, power cable
- Dimensions: 192 × 155 × 48 mm (L × W × H)
- Weight: 360 g
Step 1: Choose the right mounting spot
- A dry spot inside the boat
- Never in the engine room!
- A central position for the best Wi-Fi signal
- At least 0.5 m above the waterline for good GPS and cellular reception
- 2 m away from VHF radios, radar and compass
- Well ventilated: the Hub can warm up to 40 °C
- Power supply (8 to 28 V DC) and NMEA access must be available
Tip: Once it’s set up, you’ll hardly ever need to reach the Hub, so you can mount it out of sight.
Step 2: Connect power and NMEA
- Connect the Hub to your boat’s power supply (8 to 28 V DC)
- Plug it into the NMEA 2000 connection (Micro-C connector)
- If your system only supports NMEA 0183, you’ll need a converter to NMEA 2000 or a Wi-Fi multiplexer
What is NMEA?
It’s a communication standard that lets your onboard electronics (like GPS, autopilot, wind instruments) share data. NMEA 2000 is the newer, faster version that can handle more data.
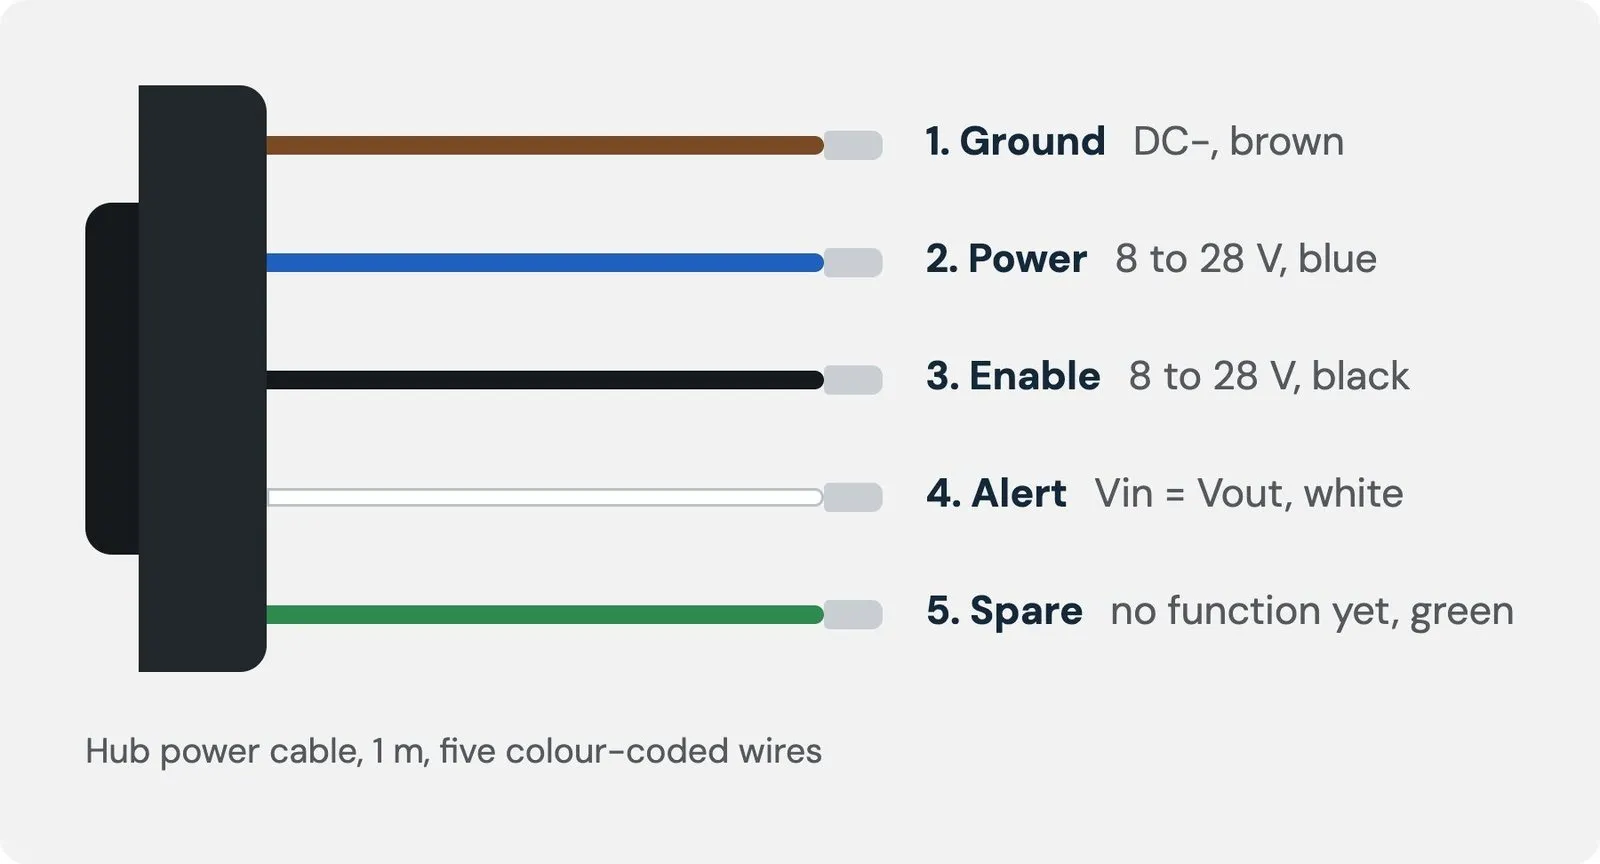
The power cable is 1 metre long and has five coloured wires:
- Brown: DC- (ground)
- Blue: DC+ (permanent positive)
- Black: DC+, enable (switches your Hub on and off, e.g. with the breaker on your main panel)
- White: alarm output for a horn or light, up to 500 mA (optional)
- Green: spare (no function yet)
Step 3: Mount the Hub
- You can mount the Hub in any orientation. Afterwards, calibrate it quickly in the app: once while lying still in the harbour and once motoring slowly in a circle
- Fix the Hub securely with screws
Step 4: Connect to Wi-Fi
Once the Hub is switched on, the LED starts flashing. Here’s what the signals mean:
- Fast flashing: the Hub’s internal Wi-Fi is starting up.
- Slow flashing (2 seconds on, 2 seconds off): the internal Wi-Fi is ready, but the Hub isn’t connected to an external Wi-Fi network (e.g. marina Wi-Fi) for internet yet.
- Solid light: the internal Smartboatia Wi-Fi is available and the Hub is connected to an external Wi-Fi network.
- Wi-Fi name: Smartboatia-XXXX
- Default password: LetsGoSailing
Additional LEDs can show the anchor watch status or password reset mode. You’ll find an overview of all LEDs and what they mean in this article.
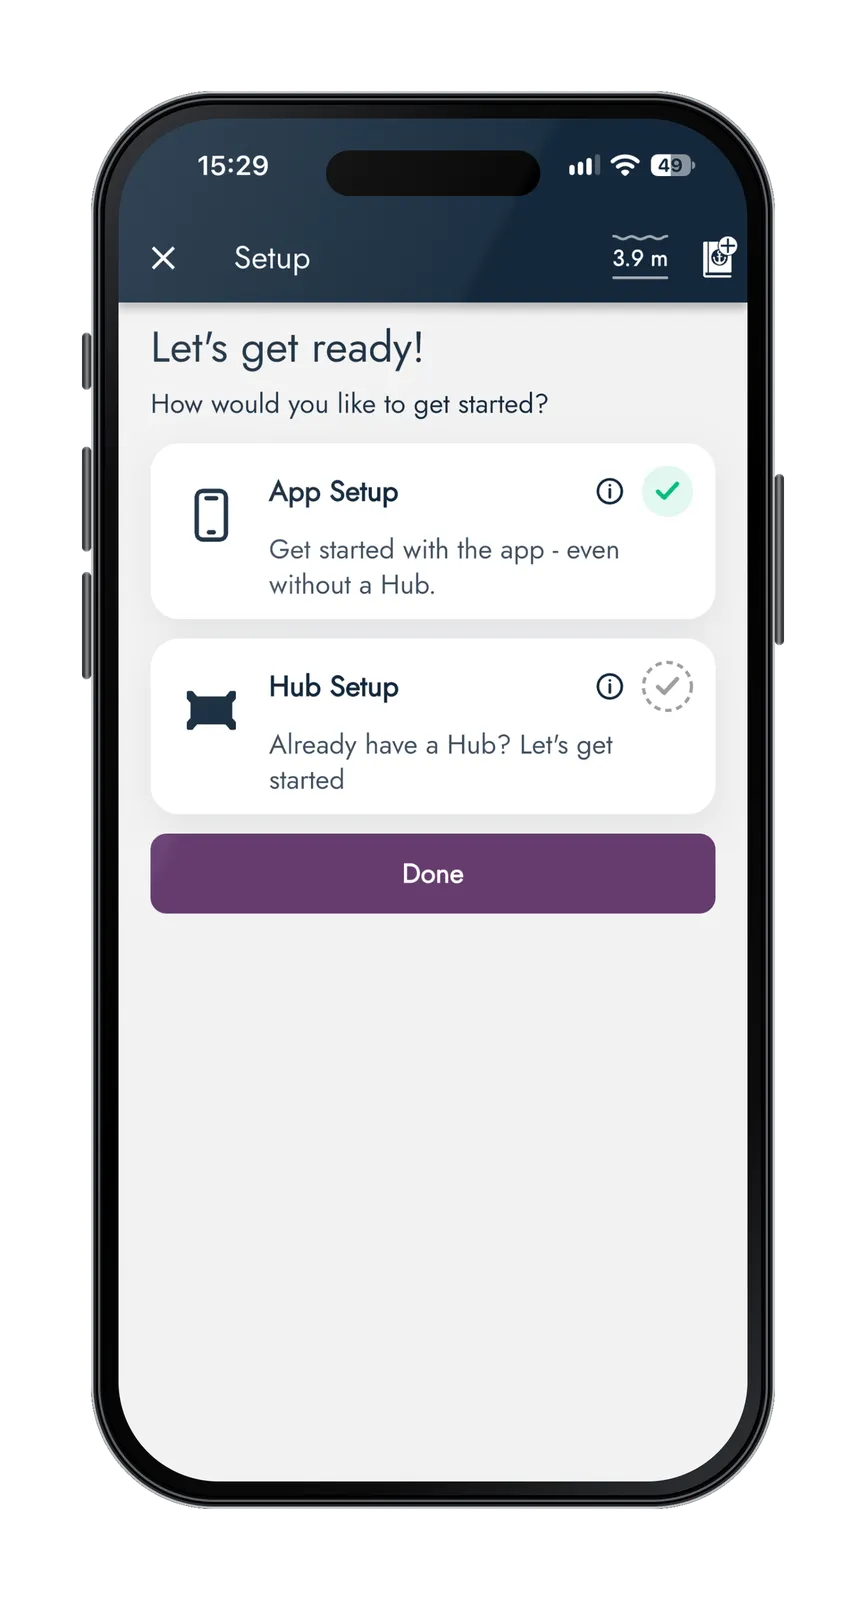
Step 5: Install the app and set up the Hub
Download the Smartboatia app (iOS or Android):
- Open the app
- Create your Smartboatia ID (your user account)
- Connect to the Hub via Wi-Fi
- The setup assistant in the app will guide you through the next steps
The app also includes helpful installation tips, built right into the setup process.
Step 6: Forgot your password? No problem!
You can reset the password with a magnet:
- Hold the magnet to the recess between the NMEA and power cables
- The LED lights up: hold the magnet there for 10 seconds
- The Hub’s Wi-Fi password is reset to: LetsGoSailing
What’s the USB port for?
The USB port doesn’t have an active function yet, but it’s reserved for future updates and add-ons. Stay tuned!
Sailboat or motorboat? Both work!
The Smartboatia Hub is optimised for sailboats, but works perfectly on motorboats too.
Bottom line: your smart boat setup in just a few steps
With the Smartboatia Hub, your boat gets smarter, safer and more efficient. Installation is easy, the tech is powerful and your system is fully set up in minutes!
Get your boat ready for the future, with smart tech that thinks ahead.
Want to find out more about the Smartboatia Hub? Learn more here.
Wondering what’s included with and without a subscription in the Smartboatia app? Here’s the plan comparison.
Didn’t find what you were looking for? In the support portal, you’ll find FAQs, can submit support requests or suggest a new Hub feature: Smartboatia support portal
The Smartboatia Hub
Logbook, anchor watch, battery alarm and plotter come without a subscription. Your first year of the subscription is included with the Hub.